A Comprehensive Guide of Blood of Lathander from BG3
A Comprehensive Guide of Blood of Lathander from BG3
Baldur’s Gate 3 aka BG3 is a game filled with lots of powerful weapons and resources to kneel your enemies. However, they are easy to grab as they are wrapped in layers of puzzles, challenges, and quests. There are various powerful weapons for various characters. But the most powerful one for the maces is the Blood of Lathander. If you can go to the Moonrise Towers, try to get this weapon too. This comprehensive guide on BG3 Blood of Lathander is for the players who want to be invincible and are ready to put effort and time into grabbing this weapon. It’s a long journey. Let’s begin.
BG3: Blood of Lathander
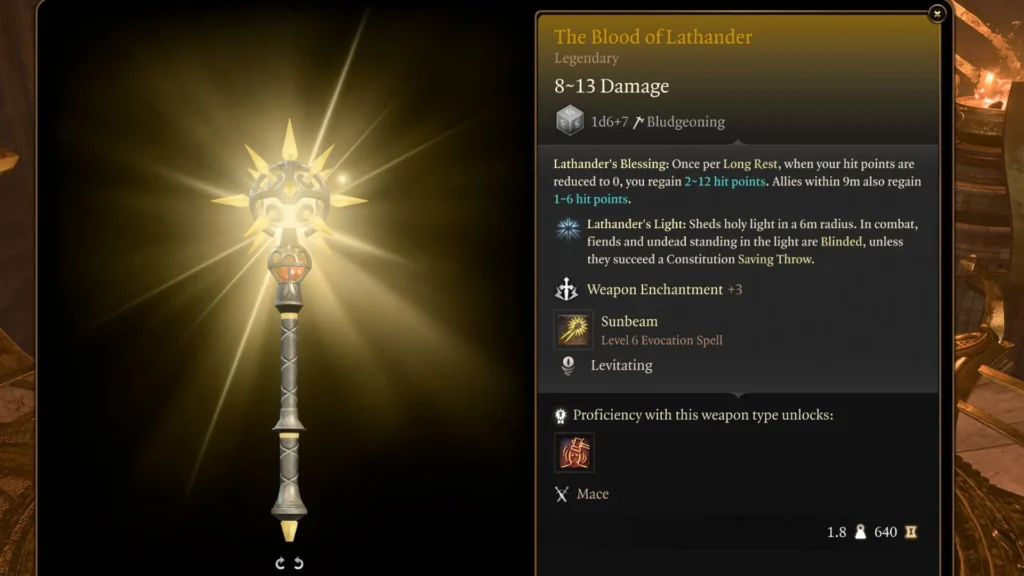
BG3 Blood of Lathander is a legendary weapon for maces. This weapon can be found at Rosymorn Monastery. It is the end of the Mountain Pass towards the Moonrise Towers. There will be a Githyanki Creche waiting for you. But there will be the Finf the Bloodof Lathander quest that will be the real deal. The following step-by-step guide will help you to get the weapon smoothly.
Reach Rosymorn Monastery
Begin the journey towards the Mountain Pass. This region is on the north side of the Blighted Village. This location is famous for other weapons like Sentinel Shield, Spineshudder Amulet, and Ketheric Thorm Relic. Just like these weapons, players must complete the Act 1 events before coming to get them. As you reach the location, the monastery will be a waypoint, and there will be a room. A room will have a broken window with stained glass and four altars and plaques surrounding it. You can enter through a broken window.
Solving the Dawnmaster’s Crest puzzle
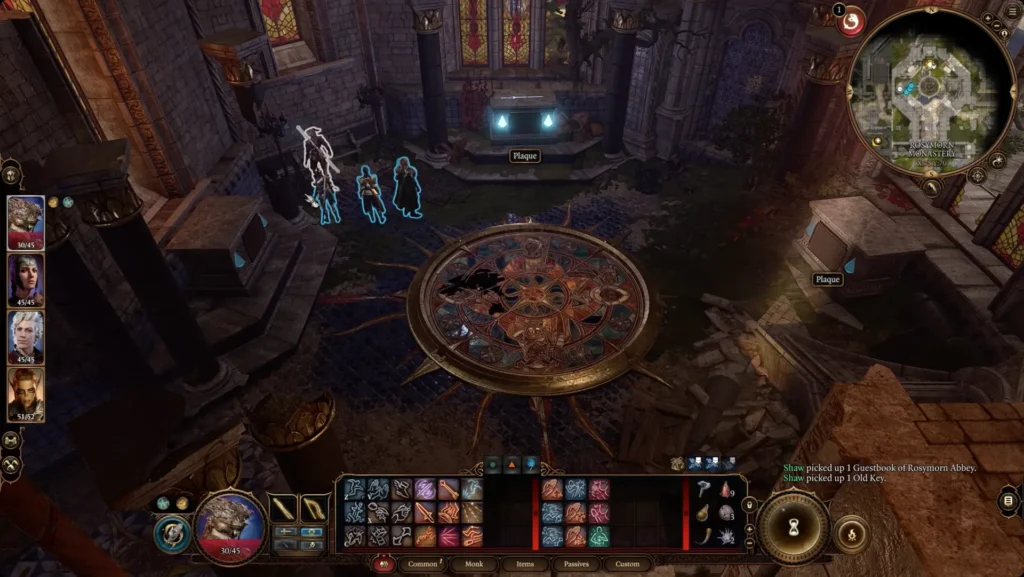
This is a puzzle where players will have to find the missing ceremonial weapons. Three out of four altars have nothing. However, the fourth altar has the Ceremonial Longsword. Here is the hint. This altar will be glowing which indicates the players to find the other missing altar items. Finding the remaining three altars weapsn will reward the Dawnmaster Crest. This item is crucial for the upcoming challenges. Here is how to find the remaining items.
Finding Ceremonial Mace
The first way is to head towards the southeast pedestal, stairs beside the knotted vines. You will see the barrier. Remove it, you will see rubble. There will be a Rusty Mace placed near a skeleton. The second way to have it is to defeat Kobold. However, you can use any mace but it will not work for other puzzle pieces.
Finding Ceremonial Battleaxe
To get Ceremonial Battleaxe, you will have to work a bit harder. Reach the knotted stairs, there will be a glowing door. This room will be on the southeast and the coordinates are X:105 and Y:45. You can enter the room by using the lockpicking technique. Or just enter through the broken stained window just like the main room.
Here, you will have to defeat the Guardian of Faith. This beast will reduce its own energy with each attack on you. So the ideal way is to survive the attacks till it gets down completely. After defeating, you can get the Ceremonial Battleaxe from the floor.
Finding Ceremonial Warhammer
Exit the room, you will see a Giant Nest on the Monastery Roof. The coordinates are X:81 and Y:40. You can try negotiation with Eagle but it wouldn’t help. So it’s best to defeat the eagle and grab the Ceremonial Warhammer from its nest. You can use a stealth character to steal using the invisibility power.
Once you have all the ceremonial pieces of the puzzle, place them in their correct place. Here is the correct order.
- Dawnmaster Seed with Ceremonial Warhammer which means altar on the northeast side.
- Dawnmaster Vaseid with Ceremonial Battleaxe which means altar on the southwest side.
- Dawnmaster Stockhold with Ceremonial Mace which means altar on the southeast side.
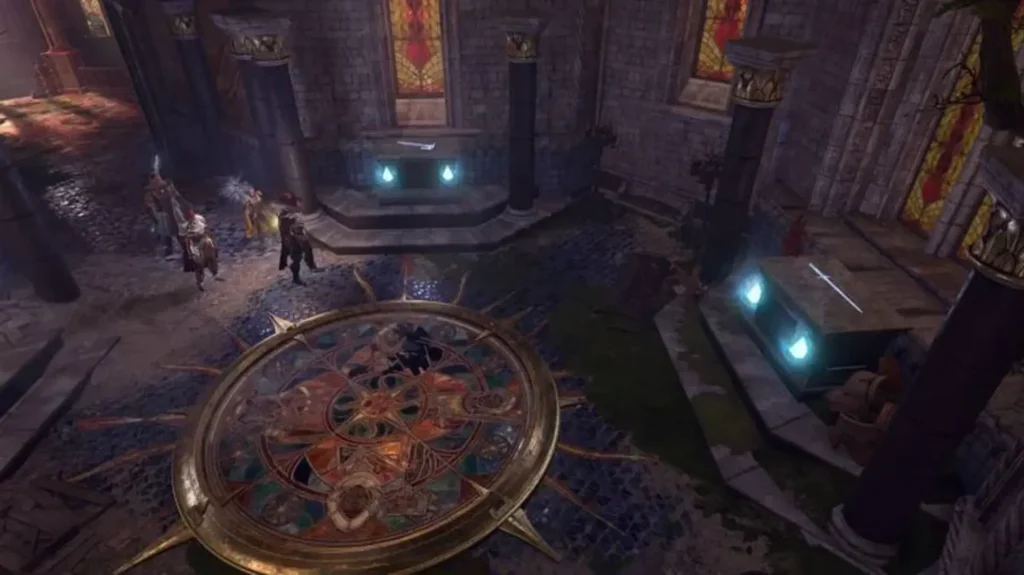
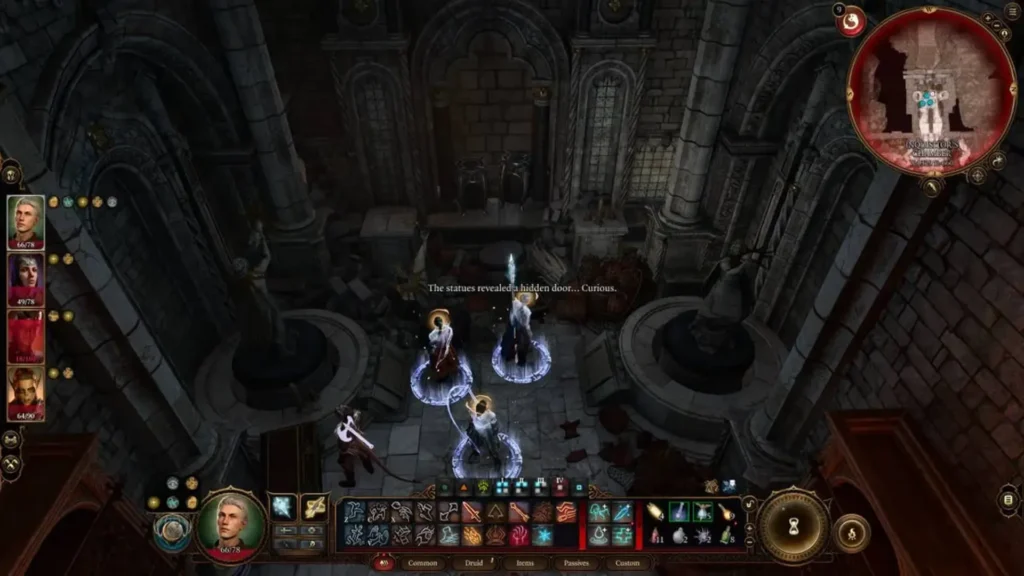
You can approach the altars and can choose and drop the weapons from the inventory. You can either drop them directly or aim them by right-clicking on weapons by opening the inventory. Once all the pieces are placed, a secret panel will open on the north wall. Dawnmaster Crest will be revealed in a pouch. Grab it for future use.
Reach Creche Y’llek
Head downstairs from the monastery and enter a room with a huge statue of Lathander on the northern side. This is the official beginning of the Find the Blood of Lathander quest. You can use a teleport waypoint if you have been in Creche before. Or else, you have to have your way through to the Captain’s Chambers.
Here you have to confront Kith’rak Therezzyn for Gith Shard. You can pickpocket her or get into a fight with her. The ideal option is the first one. Once you have the Gith Shard, use it to Githyanki Barrier Disruptor. This will unlock the ways to the Inquisitor’s Chamber.
Enter the Inquisitor’s Chambers
Once inside the Inquisitor’s Chamber, things get serious here. Here you have to defeat Ch’r’ai W’wargaz. Next, you will face the Githyanki Queen, Vlaakith. She wants the player to kill her guardian but will be mad at them as there is no way to kill it as it’s almost unkillable. But don’t worry Blood of Lathander is close.
Rotating Statues Puzzle
Reach the room where you defeat Ch’r’ai W’wargaz. It will be on the eastern alcove with the coordinates X:1333 and Y:-660. Here are two statues that must be faced in a certain direction to unlock the way forward. But here is a twist. Players should have a high-strength check. So it’s best to save the game here in case the characters fail to return alive. Here is the solution.
The left-hand statue should be facing west or towards the wall in front. The right-hand statue should be facing the opposite direction as the left-hand one. The hidden path will appear.
Grabbing the Blood of Lathander
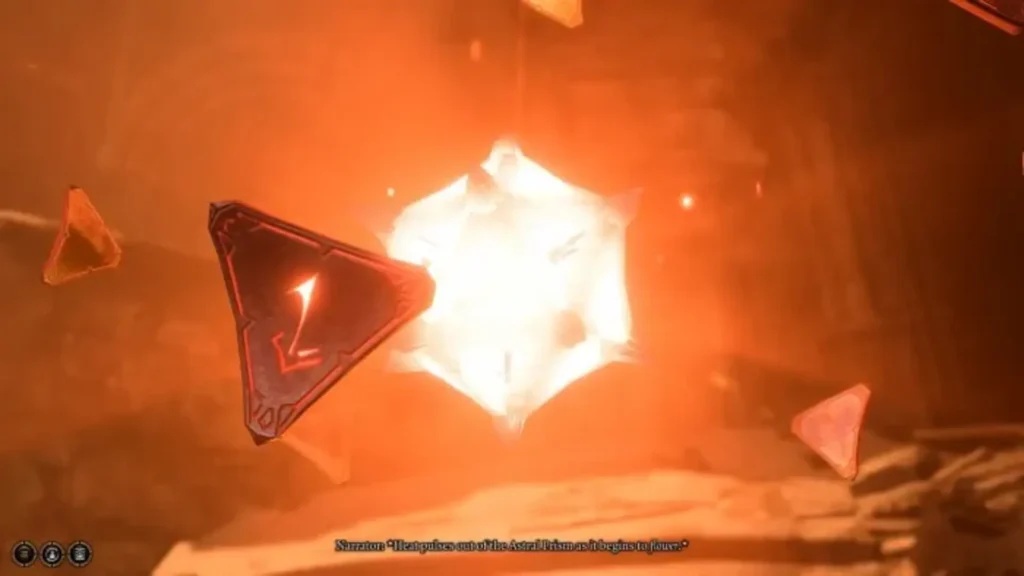
Now, things will be quite easy. First, you have to break the energy source to move forward. There will be blue crystals on the left wall. Break them with ranged attacks and move forward.
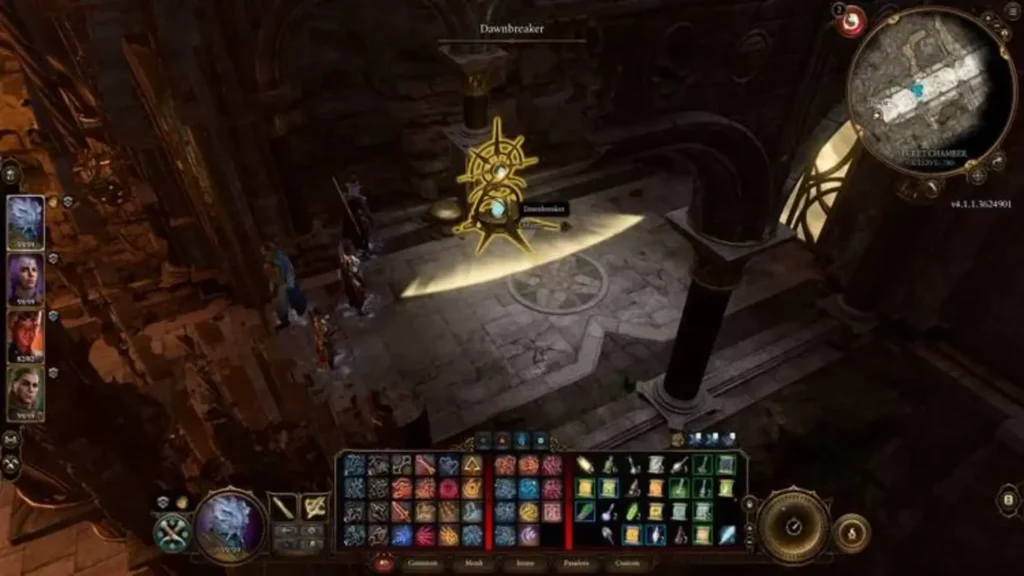
In the second room, players will have to stay protected from the energy emitted from the Dawnbreaker. Use a disarming kit to be shielded from these effects. Move to the left of the Dawnbreaker as the effect is in the cone-shaped area. Destroy it to keep going. Use a DC14 Sleight of Hand to disarm the trap. There will be a third barrier. Destroy it and keep going forward. This series of traps and disarming them will take a little time. Eventually, it will be over once you deal with them correctly.
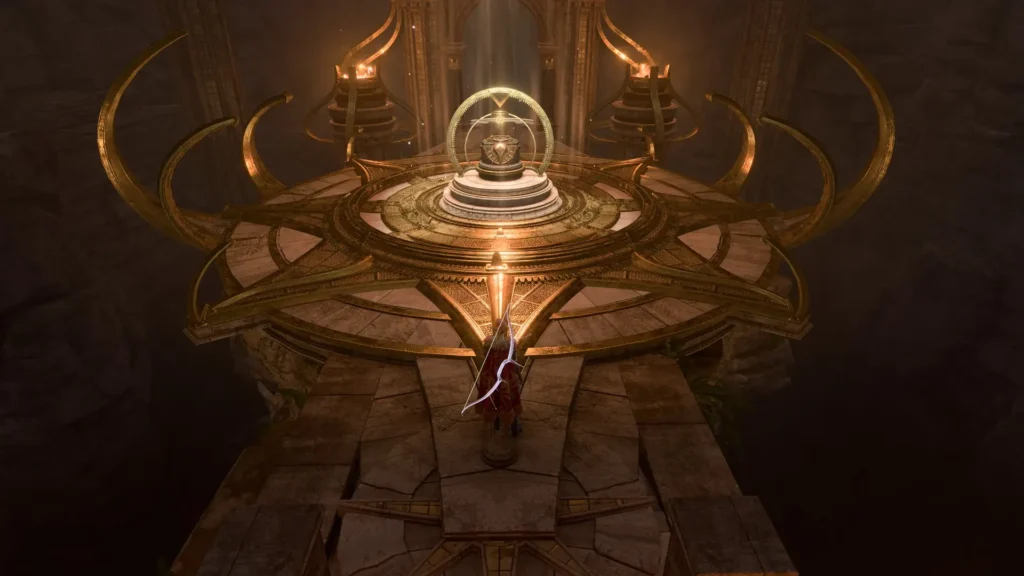
Now, a door will open to a room with Blood of Lathander. Don’t grab it. It will be a clear trap. Remember the Dawnmaster Crest. Place the crest in the slot next to the control panel holding the Blood of Lathander. Once it’s fit the slot, the Blood of Lathander is your to claim
BG3 Blood of Lathander is a powerful yet tough weapon to acquire. It’s not easy to get your hands on it. Pass all challenges, solve all riddles, and get your immersive reward.