The Ultimate Guide to Upgrade House in Disney Dreamlight Valley
Merlin will provide you with a house to start your life in Disney Dreamlight Valley. The average home is pretty decent but soon, you will get your first upgrade. However, now you will have to upgrade your house by your efforts. Completing missions and doing tasks will take you a step closer to your dream house. However, this journey will be a long road. So let’s start the Disney Dreamlight Valley upgrade house journey to get your dream house faster and live to your fullest in it. Let’s start with the first upgrade.
Disney Dreamlight Valley: How to Upgrade House
There are two types of upgrades: interior and exterior. Let’s begin with the interior upgrade first.
Interior Upgrade
The first interior upgrade can be achieved by completing a few quests. The first quest is Scrooge McDuck’s Dreamlight Valley Economics 101. This quest can be completed in the first few hours of the game. In this quest, you will have to attract more customers to his shop. You have to sell seven different gems on Goofy’s Stall. The gems on the stall can be extracted from the large black rocks on the walls. These walls are in every biome.
Once all the seven gems are sold, get back to Scrooge and talk to him. He will inform you that he has upgraded your house. An elevator is installed along with an improved interior. It will be on the left of the front door entrance. This upgrade will cost 1000 Star Coins. Then, Scrooge will advise you should invest your money to upgrade it. You can upgrade the house by adding rooms and here is the expense for it:
- 1st room expansion: 1000 coins
- 2nd room expansion: 2000 coins
- Additional room expansion: 3000 coins
The cost varies by the size of each room. Such as 3000 coins for 10×10, 2000 coins for 8×8, and 1000 coins for 6×6. These upgrades can be done on the ground floor only. However, you can have the exterior upgrade too.
Exterior Upgrade
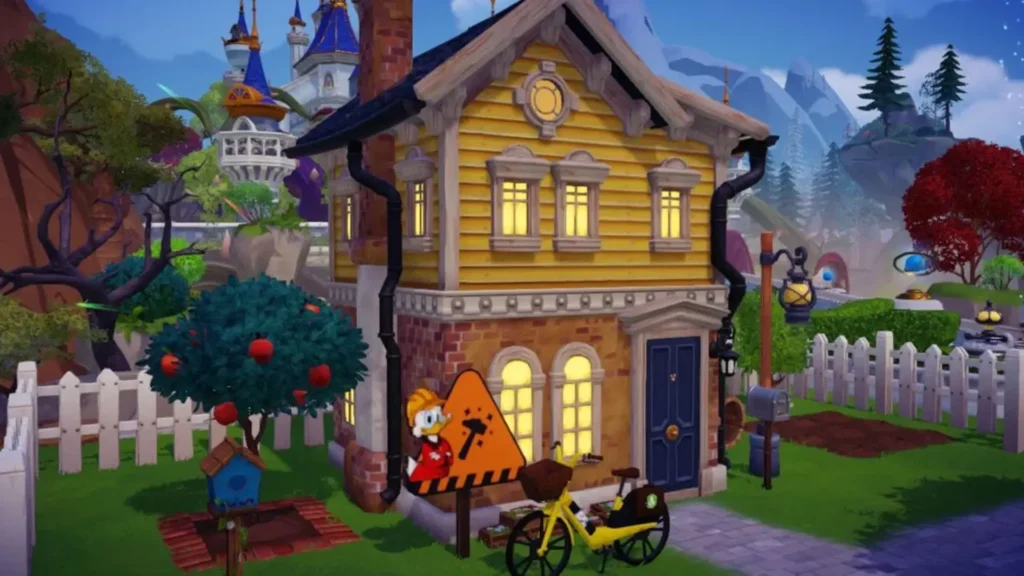
The exterior upgrades can be done after the interior upgrades are completed. On your first upgrade, players will notice a Scrooge McDuck wearing a yellow construction site hat. This is a signal to call Scrooge McDuck to seek help. He will help you upgrade the exterior for 2000 Star Coins. However, exterior upgrades are just for aesthetic appearances. It adds more storage storage and floors. Initially, there will be only one row for storage capacity. You will get more storage after external upgrades.
Here are the features of each exterior upgrade:
- 1st upgrade: 2000 coins, extra storage row
- 2nd upgrade: 20,000 coins, third and fourth storage row, second floor
- 3rd upgrade:75,000 coins, unlimited storage, third floor
Players should organize and manage their inventory slots. Such as keeping the ingredients and other resources aligned so you can grab them easily whenever you need anything. With more storage, players can upgrade to their dream mansion. However, it is very expensive. Here are some other methods to upgrade your house.
- Decorate your house: You can add furniture and other upholstery items. You can paint walls and floors with matching patterns from the Floor and Wallpaper sections.
- Collect different items: Opening chests and welcoming items are some examples of getting basic items. You can purchase more furniture items once Scrooge McDuck’s shop opens.
- Design your interior: You can place new items and rearrange them.
- Select Dream Style: Select your style from the numerous houses from the Dream Style to get one of your favorite dream houses.
Disney Dreamlight House Upgrade House guide is complete here. You can upgrade your house as per your budget and desire. Once you’re done, you can make yourself a Royal Iced Tea or Ratatouille to relax.