How to Install Emudeck on Steam Deck – What To Do Before Install & How To Install
How to Install Emudeck on Steam Deck - What To Do Before Install & How To Install
There are popular names for handheld devices. One of those is the Steam Deck. This portable device is an excellent choice as a handheld system. Despite having numerous foes, Steam Deck is top on the list due to its peaks. It enhances the experience with other emulators. Such as EmuDeck. If you are too have a Steam Deck, you should try once to install EmuDeck. This guide about Steam Deck Install EmuDeck will assist you in the process and let you play various retro games to bring back nostalgic vibes.
Steam Deck: EmuDeck
EmuDeck is an emulator that can be installed to expand your retro gaming experience. This acts as a program manager for different emulators. It enhances the overall gaming experience. Just like Diablo 4 performed outclass on Steam Deck on its debut. Moreover, the timely updates for its emulators to stay up to the mark. The best part is the advanced Steam library.
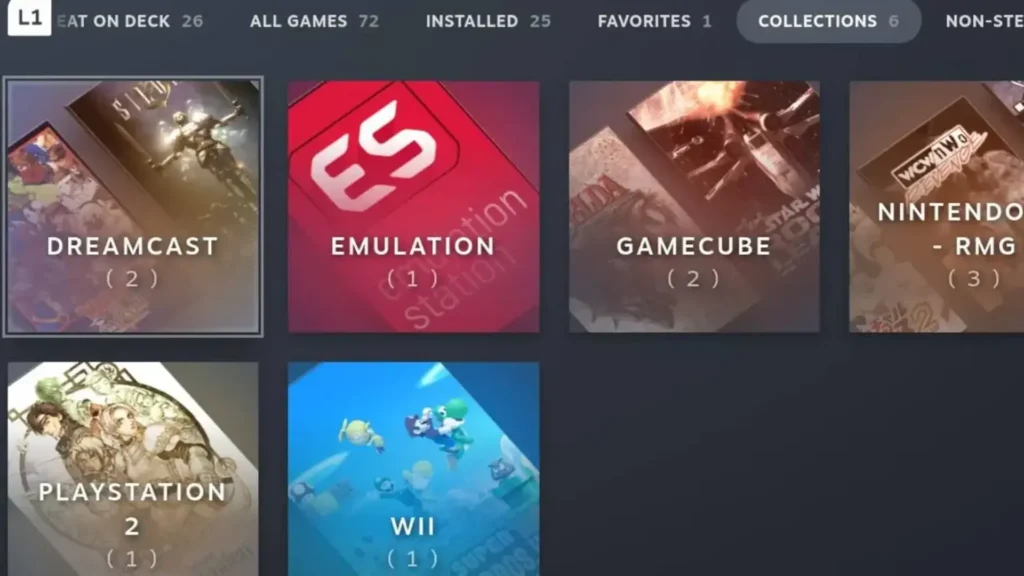
The library displays all its users’ games in it. It shows the emulated games and purchased Steam games all on one screen. There are other options like RetroArch.
RetroArch is an emulation software that gamers can use as emulators. This software uses different cores are used for various console emulators. But the powerful Linux OS of Steam Deck is hard to beat and permits versatile mods to play with. Here is the checklist for installation.
What To Do Before Installing EmuDeck
For a glitch-free experience, here are some requirements that you need to complete.
- miniSD Card: Players will need a fast-speed SD card like the A2 miniSD by San Disk Extreme Pro. There is a built-in SSD in Steam Deck, but an additional SD card will provide smooth gaming
- Peripheral: This will help you install the Steam Deck in Desktop mode. So having peripherals like Keyboard and Mouse will be helpful.
- USB Cable: A USB-C cable is needed to transfer the BIOS and ROM files.
- BIOS/ ROMS: The originally purchased video game files aka ROMs along with the BIOS are essential for the emulators to work.
How to Install EmuDeck on Steam Deck
Follow the steps below to get EmuDeck installed
- On the left trackpad, select the Steam button.
- Click the Desktop mode.
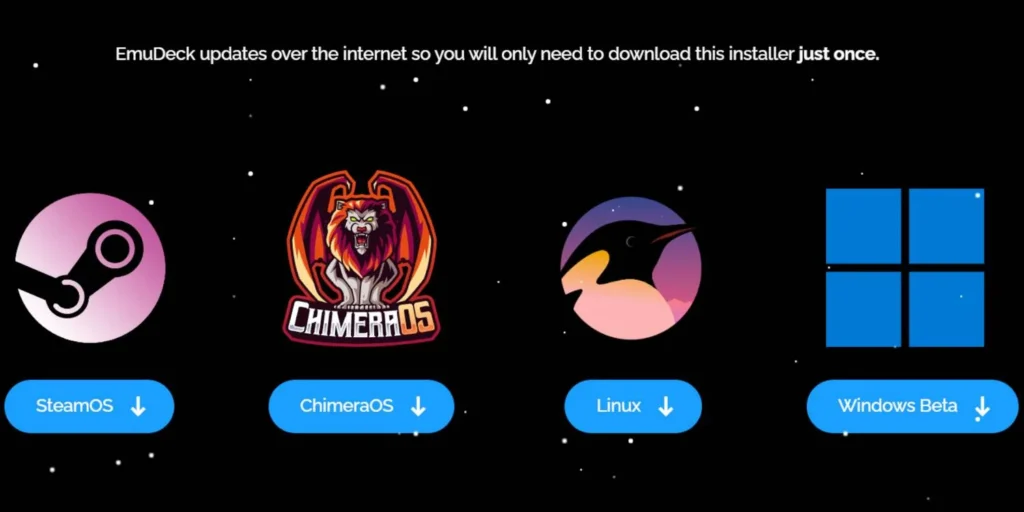
- Open your web browser to install the EmuDeck. Check the website and download the installer.
- Next, four OS versions will appear. Select SteamOS to continue.
- Move the EmuDeck installer on the desktop to begin the installation.
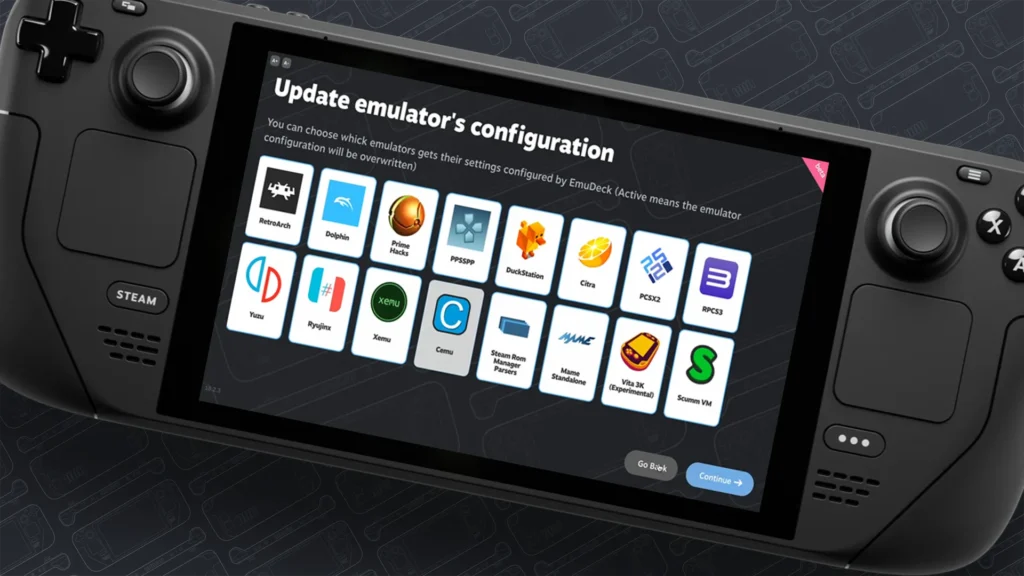
- To install emulators, select Easy or Custom mode.
- For the ROM directory, select SD.
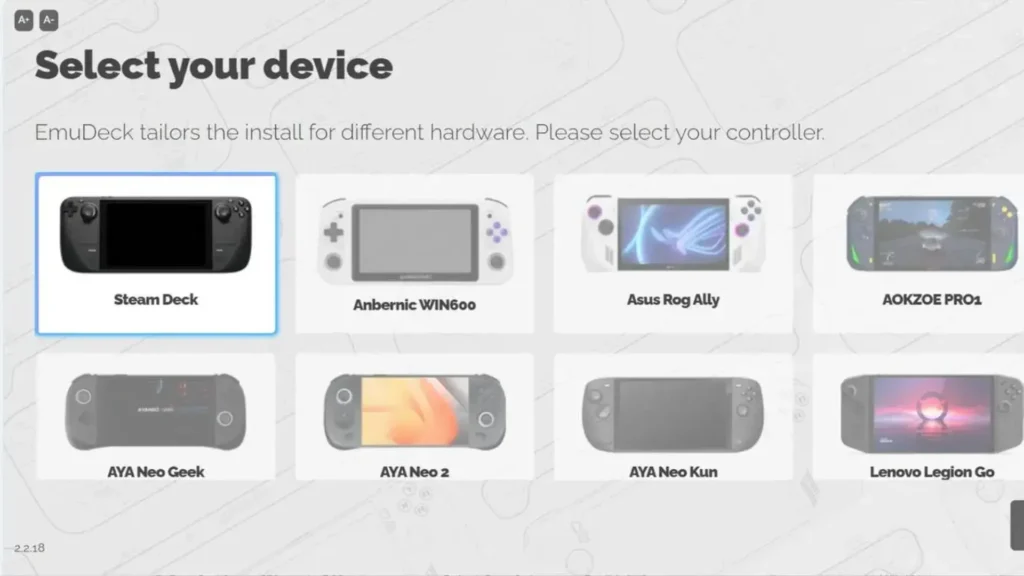
- When the “Select your device” screen appears, click the Steam Deck.
- Then, press Continue.
- EmuDeck installer will begin the installation.
- Meanwhile, you can use the USB Transfer Tool to shift the ROMS. It’s totally optional at the moment. You add it then or can do it later. But it’s recommended to add those files manually.
- Now, EmuDeck is installed.
Steam Deck Install Emudeck guide will assist you throughout the process to get all the steps covered. This will enhance your Steam Deck experience overall. You can also check out the other platforms’ news from our Tech archives.