Finding the Ketheric Thorm Relic in Baldur’s Gate 3
Finding the Ketheric Thorm Relic in Baldur's Gate 3
In the universe of Baldur’s Gate 3, players have a lot to explore and win. Chest, treasures, amulets like Amulet of Misty Step, and potions – many more things. Different items for different Acts in different quests. One of these quests is in Act 2: Finding the Ketheric Thorm Relic. The majority of players get confused due to proper information so here is the best possible walkthrough. This guide about BG3 Ketheric Thorm Relic provides all the guidelines that you need to follow to get this iconic quest completed.
Baldur’s Gate 3 | BG3: Ketheric Thorm Relic
The quest of BG3 Ketheric Thorm Relic is the main quest from the quest series of Infiltrate Moonrise Towers.
To Find Ketheric Thorm Relic, here are the steps you need to follow. Let’s begin.
#1 Talk to Thisobald
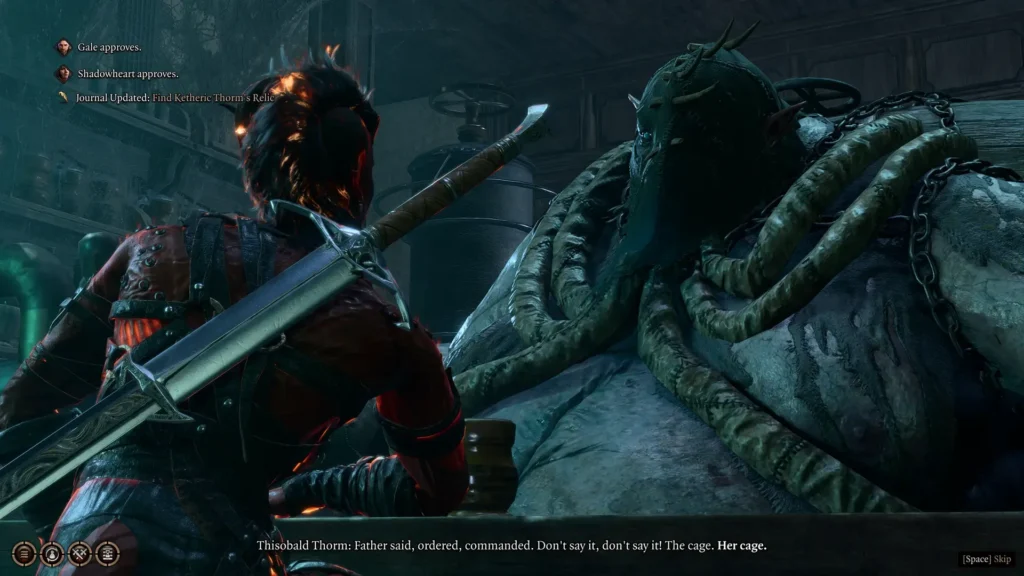
Thisobald is the owner of the tavern. He will be in The Waning Moon, northwestern side of Moonrise Towers. You will first meet the Disciple Z’rell and then will meet in person with Thisobald. He will offer you a drink. There will be a series of drinking sessions. Drink each serving he offers and tell a story. Next, keep asking him queries about Ketheric.
After a couple of drinks, he will die due to drinking. Make sure to get all the information about the Thorm Mausoleum. This is your next location to reach.
#2 Explore Thorm Mausoleum
Next, you need to find the Throm Mausoleum. Head towards the north on the map from the Waning Moon. On your way, you will find Shadows and Shadow-Cursed Harpers. A pro tip is to bring Moonlantern or the Filigreed Feywild Bell with you. This will save you from Darkness penalties.
You might find Arabella on your way. She will assign you the Find Zelvor quest if you haven’t completed it yet. You also have the chance to send her to your camp and search for her parents. If you have completed the quest, then move a slight northwest towards your location. There will be Raphael. Talk to him to get more information on what to expect inside.
A pro tip is to bring Astarion with you to your party. He will be a great help in dealing with enemies inside. After getting information from Raphael, he will ask you to kill his old enemy. This will be the Kill Raphael’s Old Enemy quest.
#3 Inside the Thorm Mausoleum
As you enter the Thorm Mausoleum, you will have to solve a puzzle. It’s an easy one but be careful in this room not to step on plaque. As you enter there will be a coffin in the middle of the hall. There will be three pictures around the room each with a button. Here is the correct order to press the buttons and solve the puzzle.
- Moonrise Towers
- Grief
- General
After solving the puzzle, interact with Transveral Gem to progress. There will be a path next to the Geenral image and now you can head towards it.
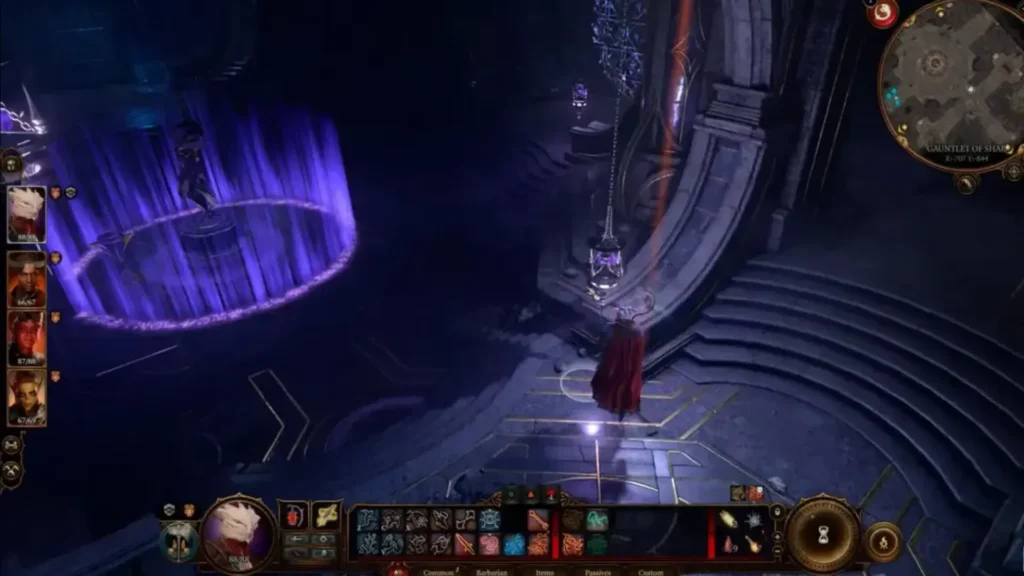
BONUS: The Umbral Gem
Before you proceed, here is an additional step to grab the Umbral Gem. After the puzzle, you will enter the Gauntlet of Shar. Here, you will see the statue is encircled with purple light. As you try to get close to it, you will be pushed back. To resolve this, you need to move around the status to find four rooms.
Each room will have a metallic plaque on its entrance and a lever in it. You need to surpass this plaque to enter the room and pull the lever to light the purple light. After all the lights are turned on, a purple light emits around the statue. This light will guide to player towards the first Umbral Gem. You head over and grab it
#4 Finding Balthazar
After getting the Umbral Gem, head towards the north and up through the stairs to the door, Norse. There will be Justiciar enemies that you will need to defeat. There will be allied skeletons for your help but they will not last longer than two or three turns. The best approach is to take out the Umbral Tremors so the call for the next enemy troop is disabled. Now, you can concentrate on defeating the Justiciar faster.
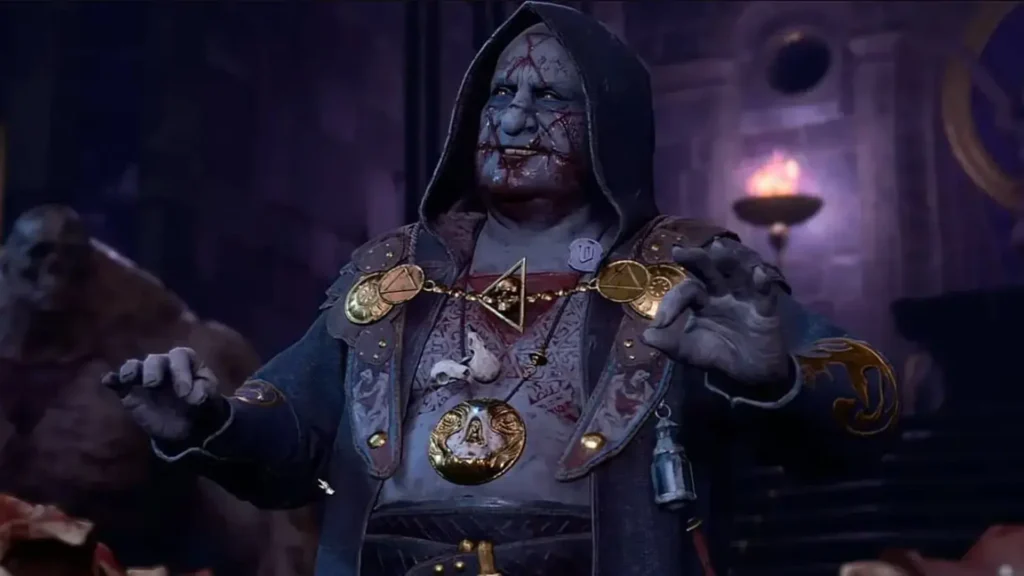
As the battle ends, head towards the west to the Gauntlet of Shar Waypoint. There will be more Justiciars. Defeat them by destroying the Umbral Tremors and then crush them down. You will eventually defeat the Deep Umbral Tremor, the biggest of them, and the battle will finally end. Next, a door on the west will open and Balthazar will appear.
Inform Balthazar that Z’rell gave you a task. He will then summon the golem bell from Flesh Golem for extra allies.
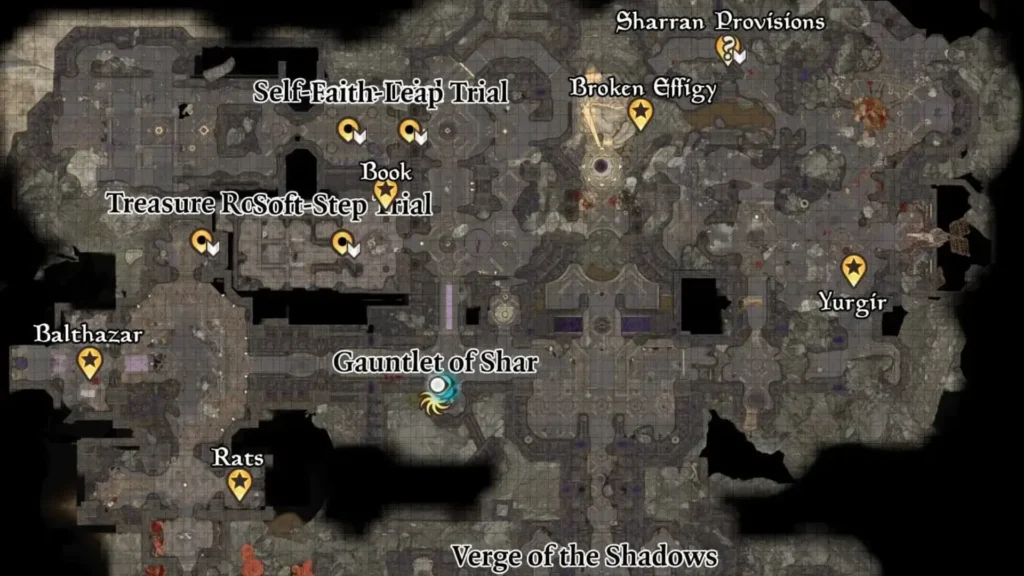
#5 Shar’s Trials
#1 Soft-Step Trial
Now, you need to reach a waypoint. Head towards the north of the map and then take the western path when the route splits. This route will take you to the Soft-Step Trial room with a Sacrificial Bowl in it. Bleed in the bowl and the best option is Shadowheart.
Next, select a stealthy character like Astarion. Ungroup and hide him from Shadows. Even if he’s caught he will just lose 1 HP and start all over again. So better stay hidden and enter through the door on the left. In the center of the room is the Soft-Step Trial Key with a lever.
On the right side of the lever is a button. Press it to lower the wall and head towards the end of the locked gate. Unlock the gate and grab the Umbral Gem from there. Use the teleport button there to reach back to the start of the trial.
#2 Self-Same Trial
From the Soft-Step Trial move to the north on the map. Here again, head towards the west path when the route splits. Just like the Soft-Step room, there will also be the Sacrificial Bowl. Bleed into it yourself or Shadowheart can do it for you.
Here will be the copies of your party. The ideal solution is to fight with your own one. Or else you will be affected by the Cheater Folly which will reduce the score by 1. The copy opponents will have the same ability and equipment. But Shadow Blend can be invisible and be around.
Once a party member has defeated its copy, they can help others. After all the party members are defeated, take a long rest. Next, grab your Umbral Gem next to the waypoint transporter. You and your party members can walk back too.
#3 Faith Leap Trial
Head back to the Self-Same Trial map, and choose the stairs on the north. Way forward there will be another split route to the west and south. Choose the west path towards the Ancient Altar. Here will be the sacrificial bowl. Follow the same steps. Now walk on the invisible path to reach the other side.
If you find it difficult then use the Fly or Dimension Door and long jumps can be helpful too. The ideal approach is to let one person follow the path and the rest of the party follow. Once reached, grab the Umbral Gem.
#6 Get Yurgir’s Gem
After the Faith Leap Trial, head toward the east and use the broken stairs to reach a room on the left side. Here will the Yurgir, Raphael’s Old Enemy. There are various options to defeat him but the best one this to attack and kill it. Once he’s out of your way, grab the gem and head back.
There is an optional gem in the Ancient Altar. You can get the Spear of Night. This is totally optional.
#7 Shadowfell Entrance
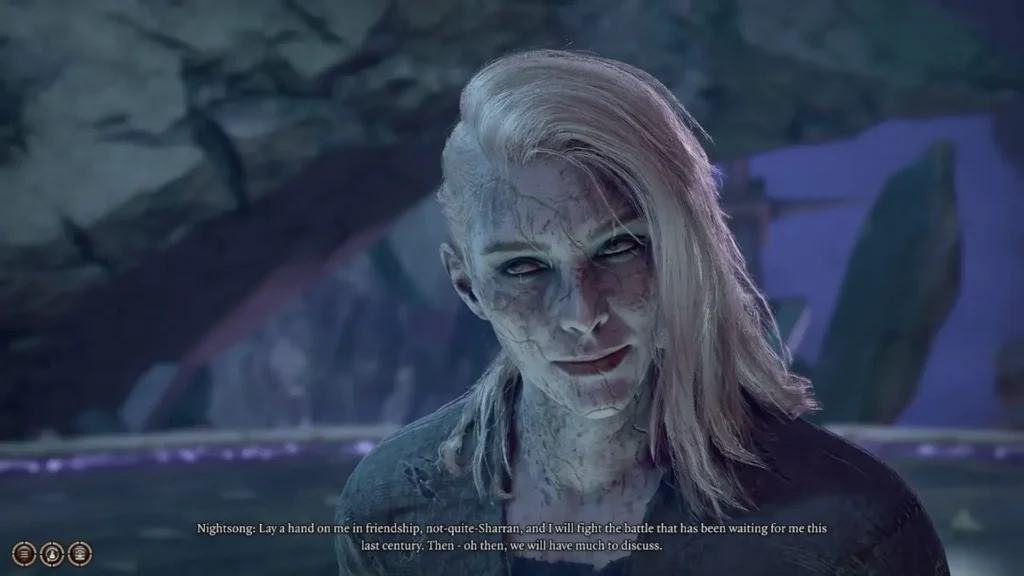
Reach the Verge of the Shadows, land into the water to reach the Shadowfell Entrance. Jump inside as there will be no damage. Reach the Balthazar and the Nightsong. Here is an important decision to make. If you want to save Nightsong, then you have to defeat and kill Balthazar. If not, then you have to ask Shadowheart to kill her.
After your decision, the quest is completed.
BG3 Ketheric Thorm Relic guide is comprehensive and listed with steps. It’s best to get the players who wish to get their hands on more questlines. If you are one of them, then these Baldur’s Gate 3 guides will be a great help.